Hello! :)
Two weeks ago one of my customers asked me if I could make a star-shaped gift box for her. I had no idea how to make such a box, but since I like challenges, I agreed to try.
At first, I tried to find some instructions on the Internet, but unfortunately I couldn’t. The only tutorial I found was on how to make a star-shaped box using origami method. The box looked really good, but it wasn’t what I was looking for. So I decided to make such a box on my own, without any tutorials. Luckily, I succeeded. :) The box turned out really nice. It is big enough to put there not only a card with wishes, but also a small gift like jewellery, money or some sweets. By adding a ribbon to the box you can hang it on your Christmas tree.
And speaking of Christmas… We all know that Christmas is the time of sharing, so today I would like to share with you a short tutorial on how to make a star-shaped box. :)
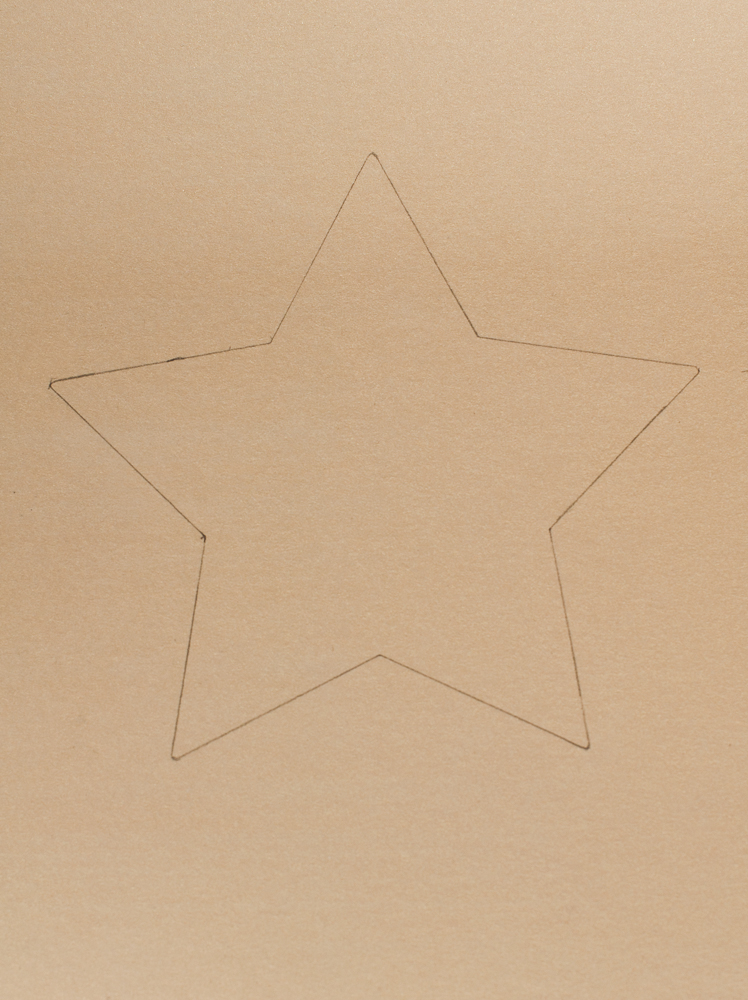
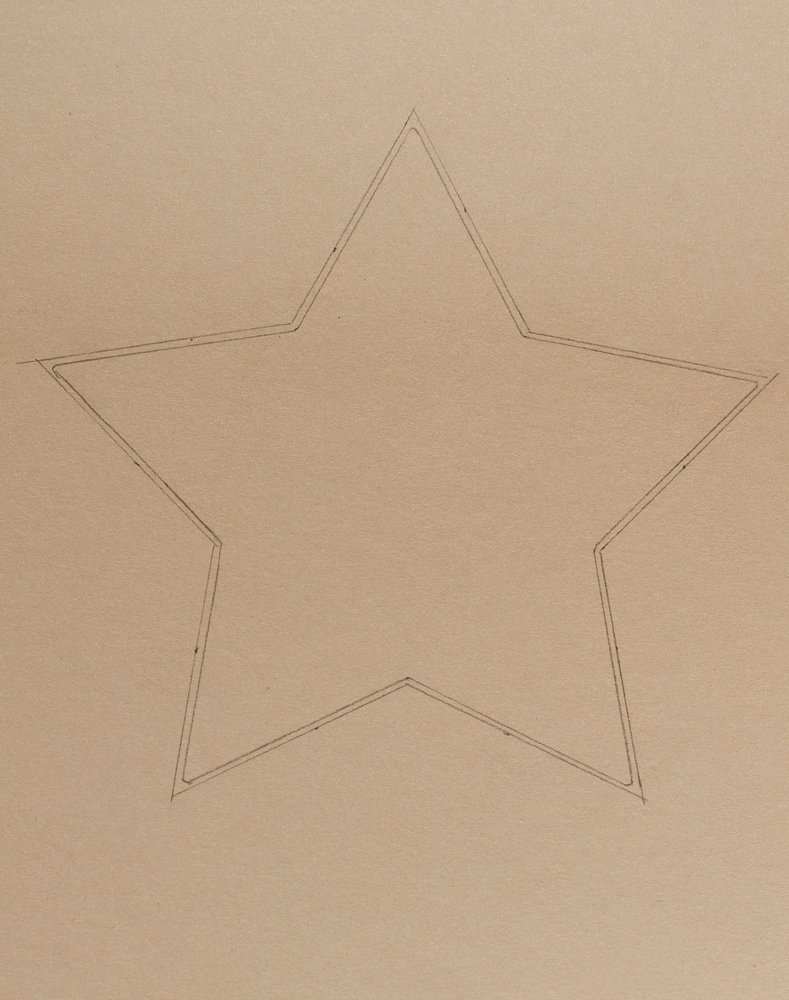
Step 1: Prepare two stars. The size of the stars is up to you, but you need to remember that one star must be 1 mm bigger than the other one.
 Step 2: Depending on the size of the stars, prepare the walls of the box. Measure your stars so you will know how long the walls should be. In my case, the walls of the smaller star are 4.5 cm long and the walls of the bigger star are 4.6 cm long. The height of the walls is 3 cm.
Since the size of the paper I was using to make the box was A4 I needed to use two strips of paper to make the walls.
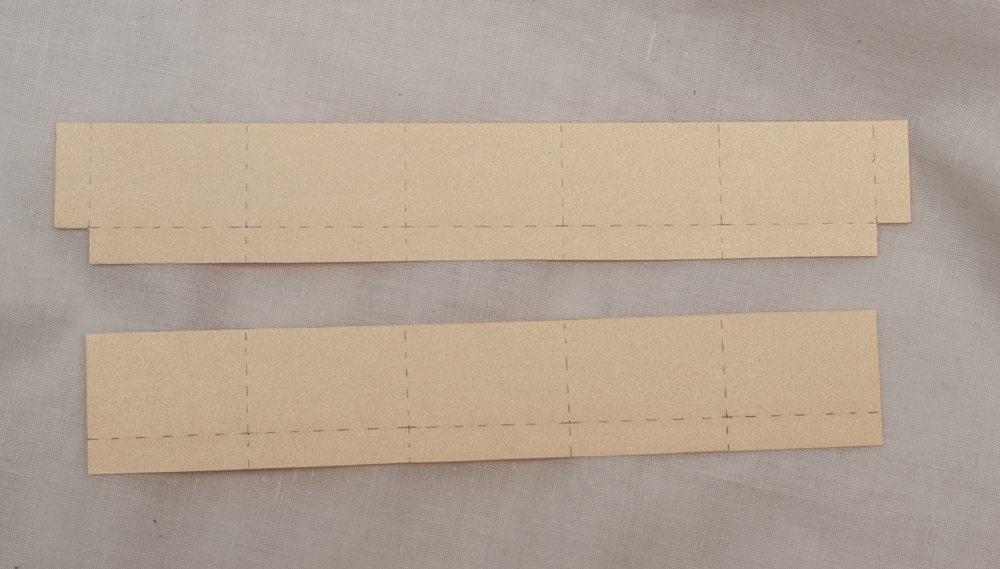 Step 3: After you draw the walls remember to add some flaps which will help you to glue the walls to the stars.
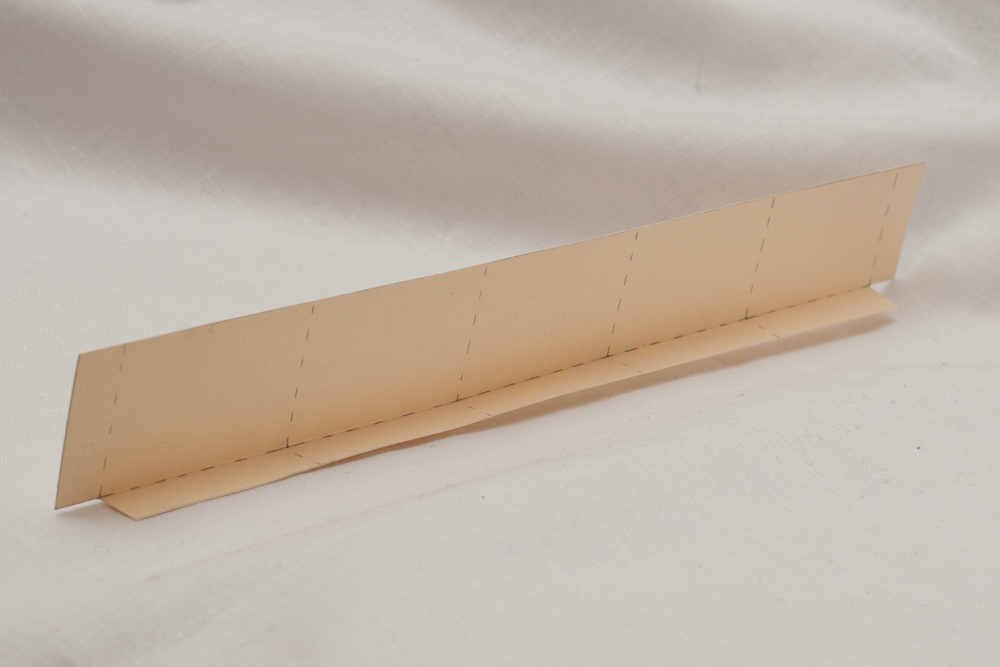
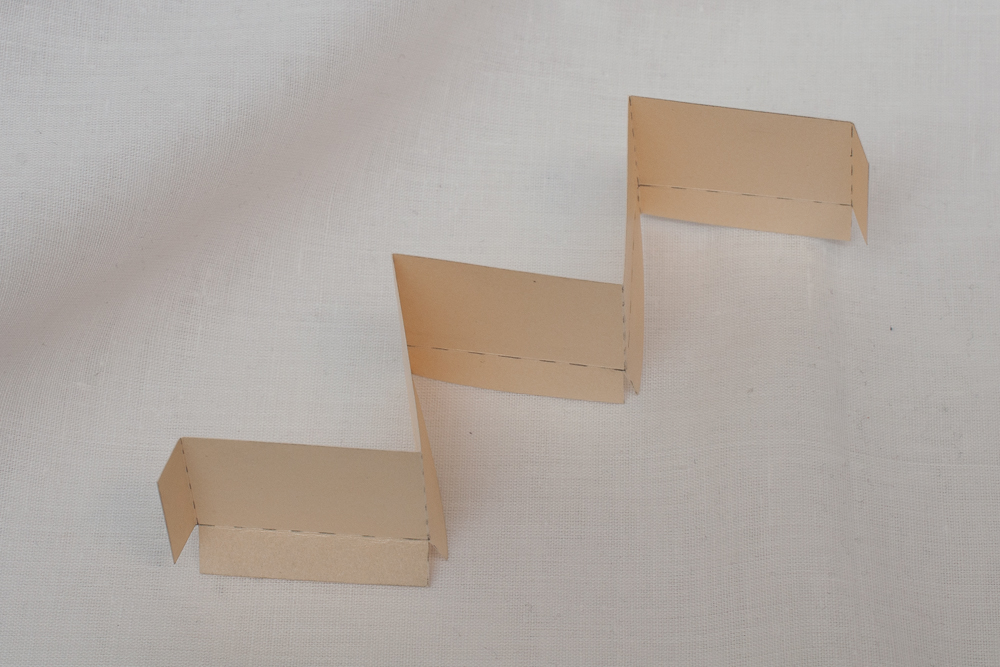
Step 4: Fold the flaps and then fold the whole strip of paper like in the picture below. Remember to cut the bottom flap.
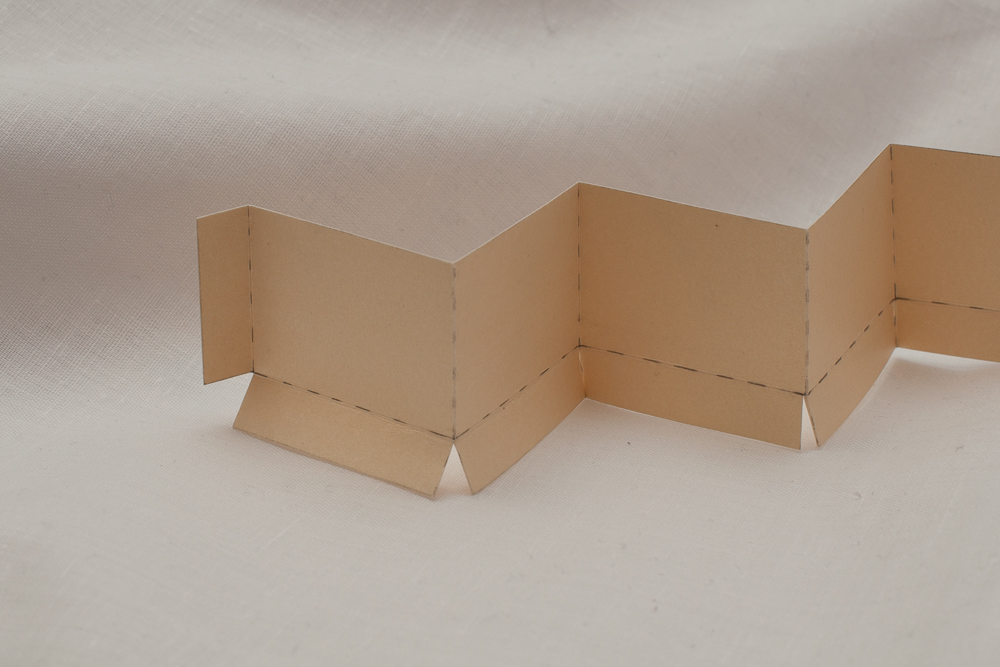 Step 5: Glue the walls to the stars using the flaps. After you attach each wall to the star you will see that there is a small piece of paper sticking out. Just cut it off.
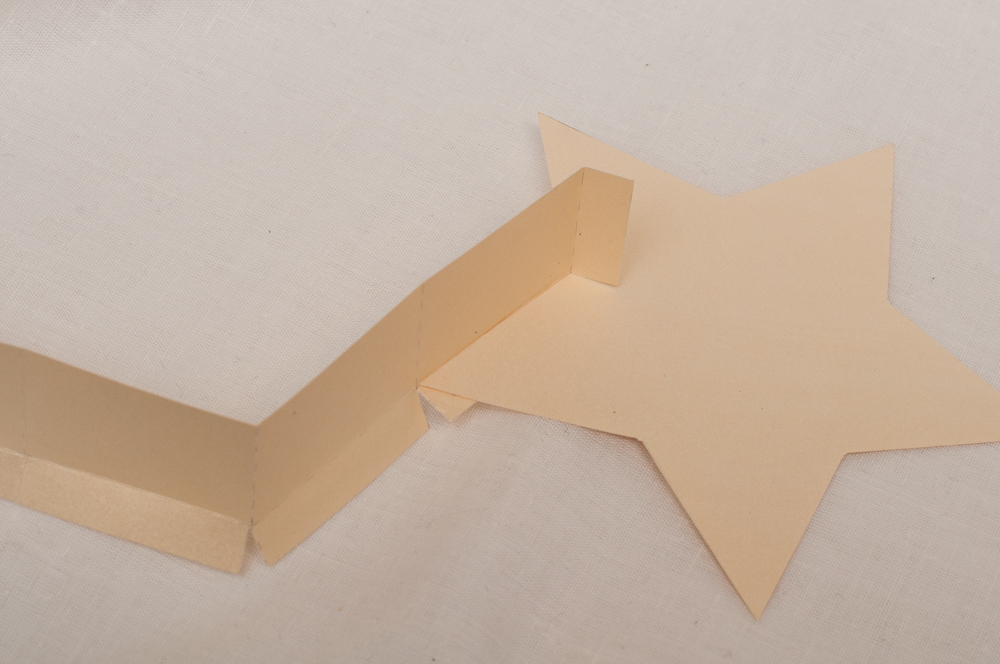
 This is how your box will look like after you attach the first strip of paper to the star:
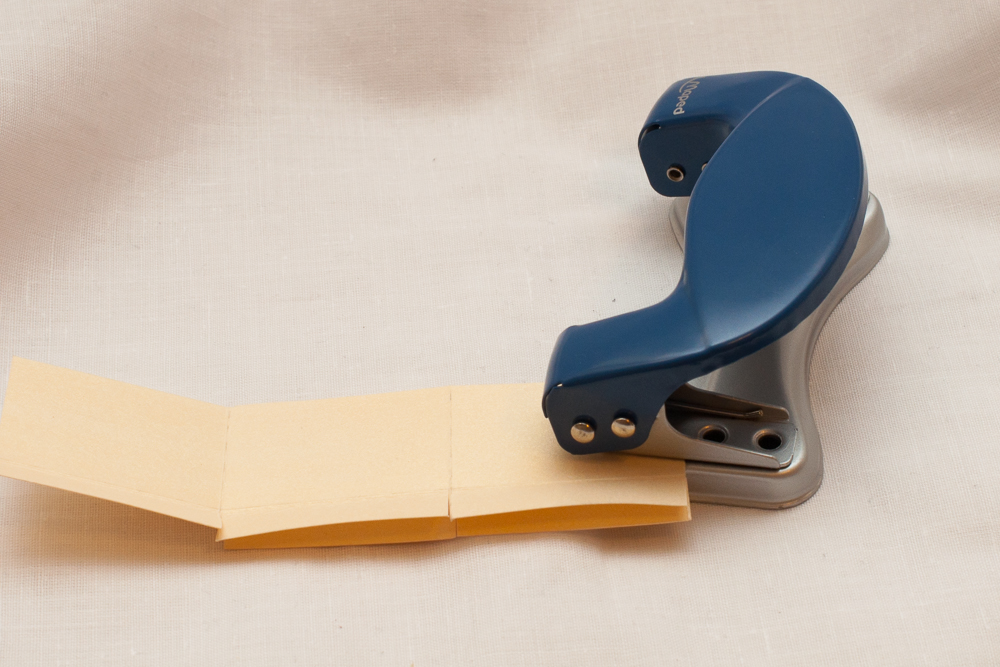
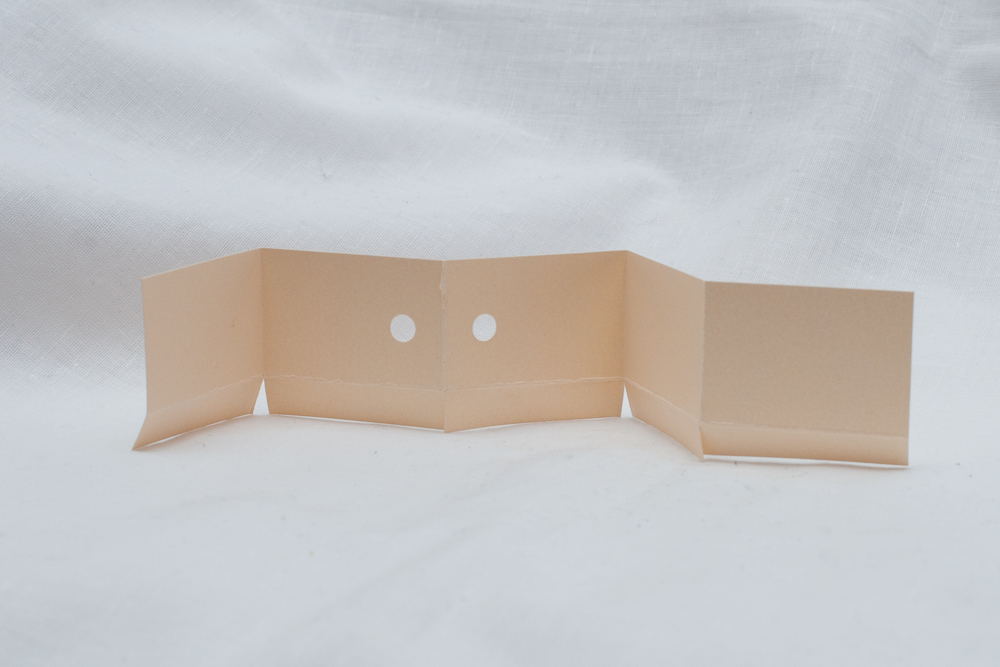
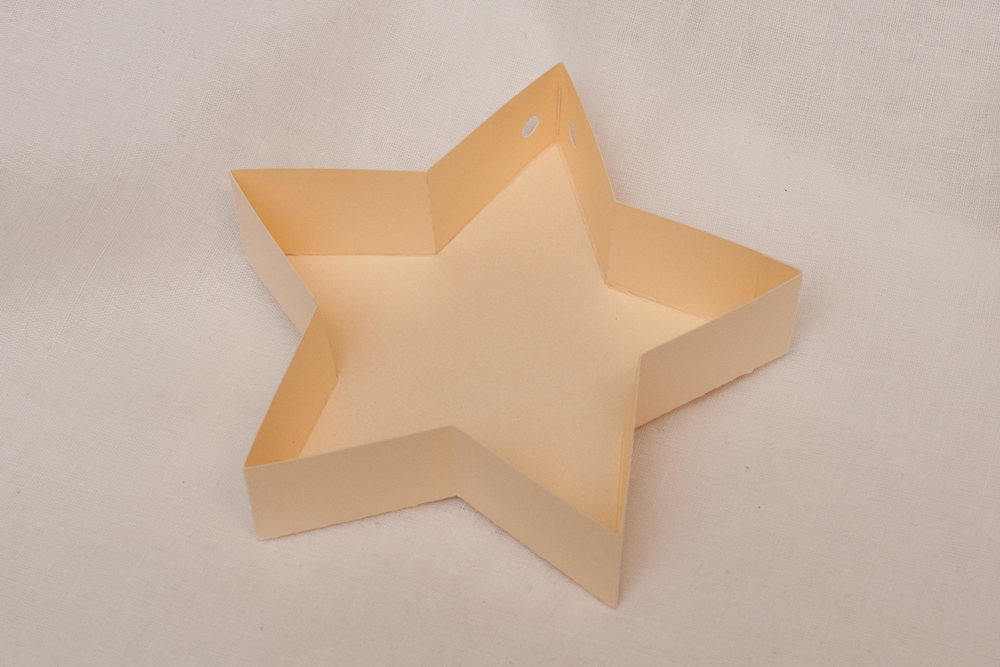
 Step 6: After you glue the first strip of paper to the star, prepare the second one in the same way as the first one (fold the flaps, fold the whole strip of paper, cut the bottom flap). If you want to hang the box on the Christmas tree, remember to punch holes in the right place.
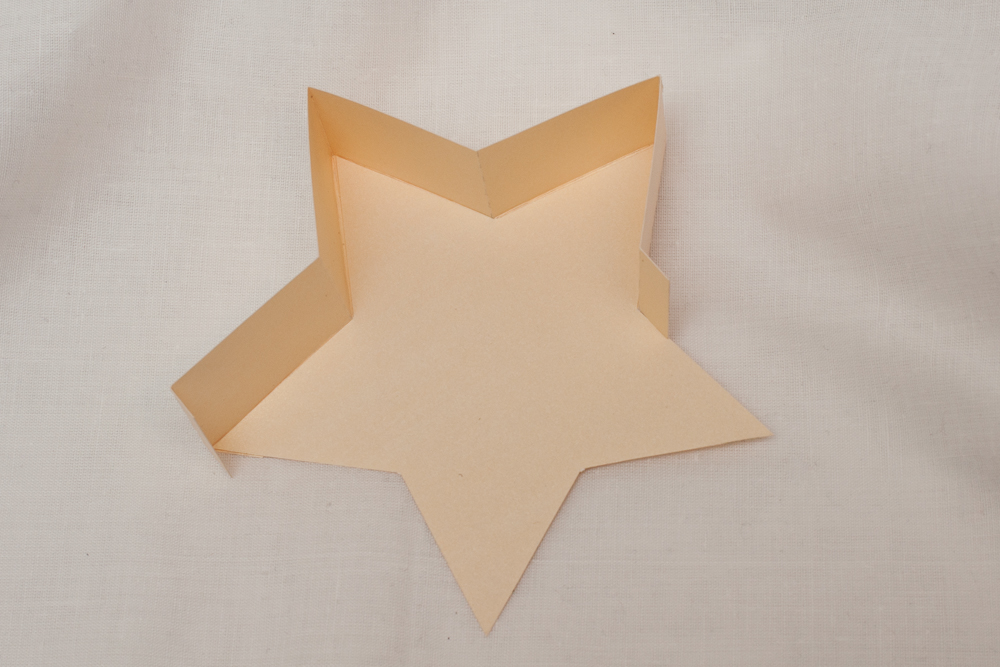
 After you do that, glue the strip to the star just as you did with the first strip of paper. You have just finished the bottom part of the box. :)
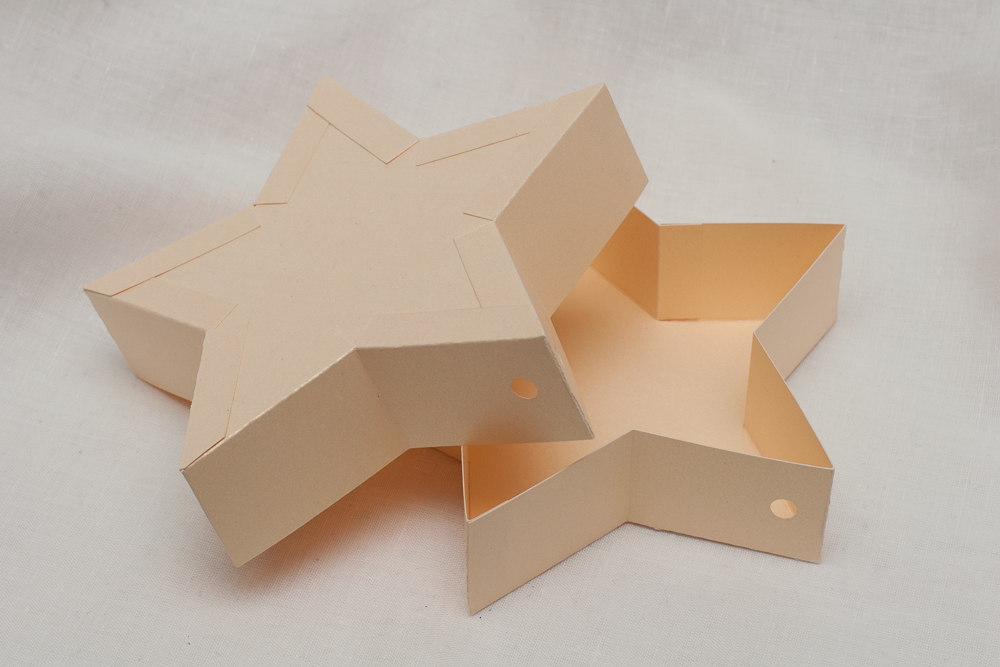
 Step 7: Preparing the lid is easy because you do it in the same way as the bottom part of the box. The only thing you need to remember is that the walls of the lid are a bit longer (4.6cm x 3cm).
Step 8: As you can see in the picture below, the flaps are visible on the outside of the box.
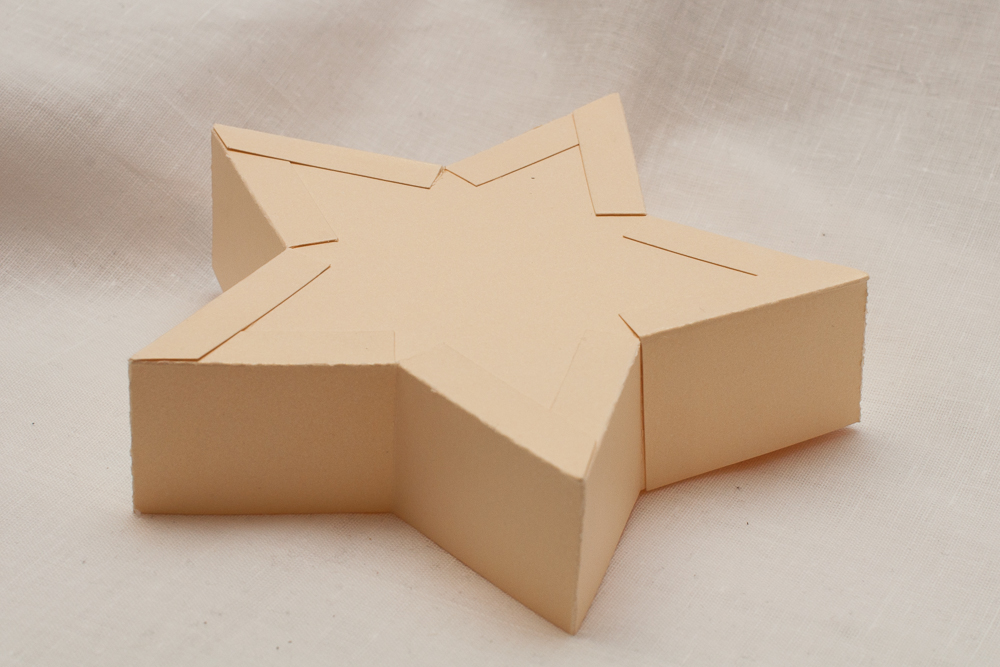 What you need to do right now is to cover them. To do that you will need two stars of the same size as the stars which you prepared at the beginning. After you cover the flaps you can start decorating the boxes. :)
 I hope the instructions above will be useful. :)
I will show you more pictures of the boxes I made in the next post so stay tuned. :)